Making commits
Once you have added or modified code for your analyses that you are happy with, you will need to commit your changes to your feature branch. A Git commit saves your code changes to version control. For each commit, a unique ID (also known as a hash) will be assigned to identify that commit, allowing you to easily track changes.
Learn more about commits
For more details on commits, see:
How to make a commit in GitKraken
Step 1: Make sure you are in the right branch
Before making your commit, be sure you are working in the correct feature branch.
- In GitKraken, you will see a check mark next to the branch name in both the side menu under
Localand in the branch diagram.- The check mark at the "Local" branch name indicates that that branch is checked out.
- You can also see which branch name is checked out in GitKraken's top menu.

For more on branches, see Working with branches.
Step 2: Stage your changed files
- On the right-hand panel, you will see a list of files that you have modified under
Unstaged Files.- These are changes which you could include in your commit.
- Choose the changes you want to include in your commit and move them from the
Unstaged Filesarea to theStaged Filesarea:- To include all changes, click the
Stage all changesbutton. - To include only some changes, hover over individual files and click the
Stage Filebutton one at a time. This will move that file from theUnstaged Filesarea to theStaged Filesarea. - Any files that you move into the
Staged Filessection will be included in your commit.
- To include all changes, click the
Each commit should correspond to a single change or group of related changes. For example, if you are updating both code and documentation, commit your code changes and your documentation changes separately.

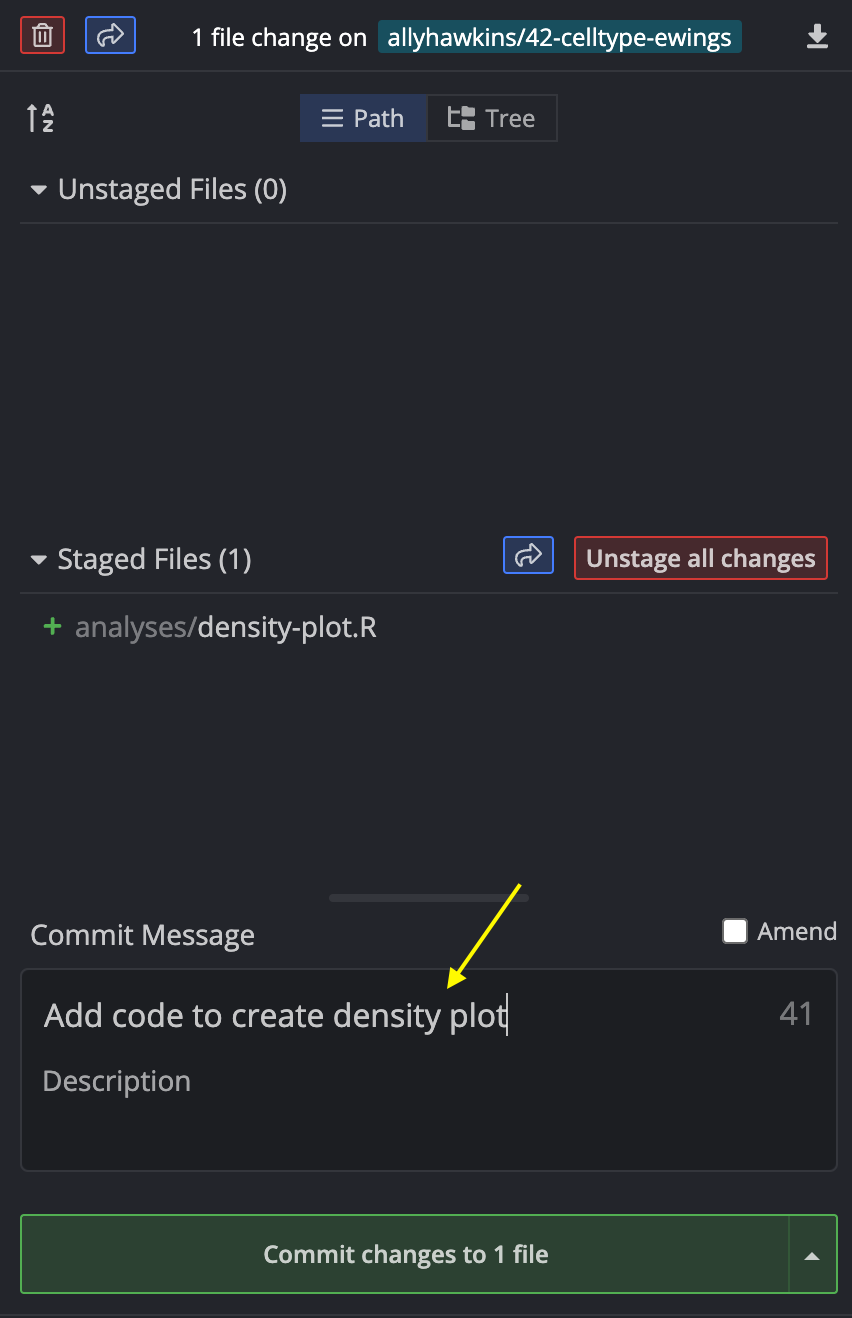
Step 3: Add a commit message
Write a commit message by filling in the Summary box.
This should be a short message that describes what changes are associated with that commit.
For example, if you are adding code to create a new plot, you could write, "Add code to create density plot".
Step 4: Make the commit
Click on Stage files/changes to commit to make the commit.
This action ensures the code changes in your commit are saved in your branch's history.
You should now see a new line with your commit message connected to your branch name in GitKraken.

Pre-commit checks
We have set up pre-commit hooks to manage basic code security and catch other common problems, such as:
- Large data files that should not be committed to the repository (files > 200 Kb)
- Merge conflicts that have not yet been resolved
- If you need help resolving merge conflicts, please see the documentation on resolving merge conflicts.
- Credential files and other sensitive information
Still need to set up pre-commit?
Please see the documentation on installing the pre-commit package and setting up pre-commit hooks in the repository.
Every time you make a commit, these pre-commit checks will run in the background to make sure all files you are committing pass the checks.
Your commit will only succeed if all pre-commit checks pass, as indicated by an exit code of 0 and a green banner:

If you are making your first commit, the pre-commit checks may take longer and you will see the following banner:

Having trouble getting pre-commit checks to pass? Please see the documentation for troubleshooting commit failures.
You have now successfully committed your changes to your feature branch!